Account Setup
Last updated: January 2026
Creating Your Account
Ralivi offers two ways to sign up. Both methods will take you through the same onboarding wizard afterward:
Sign Up with Google (Recommended)
The fastest way to get started. Your Google account will be used for authentication.
- Click "Sign up with Google" on the signup page
- Select your Google account
- Authorize Ralivi to access your basic profile information
- You'll be automatically logged in
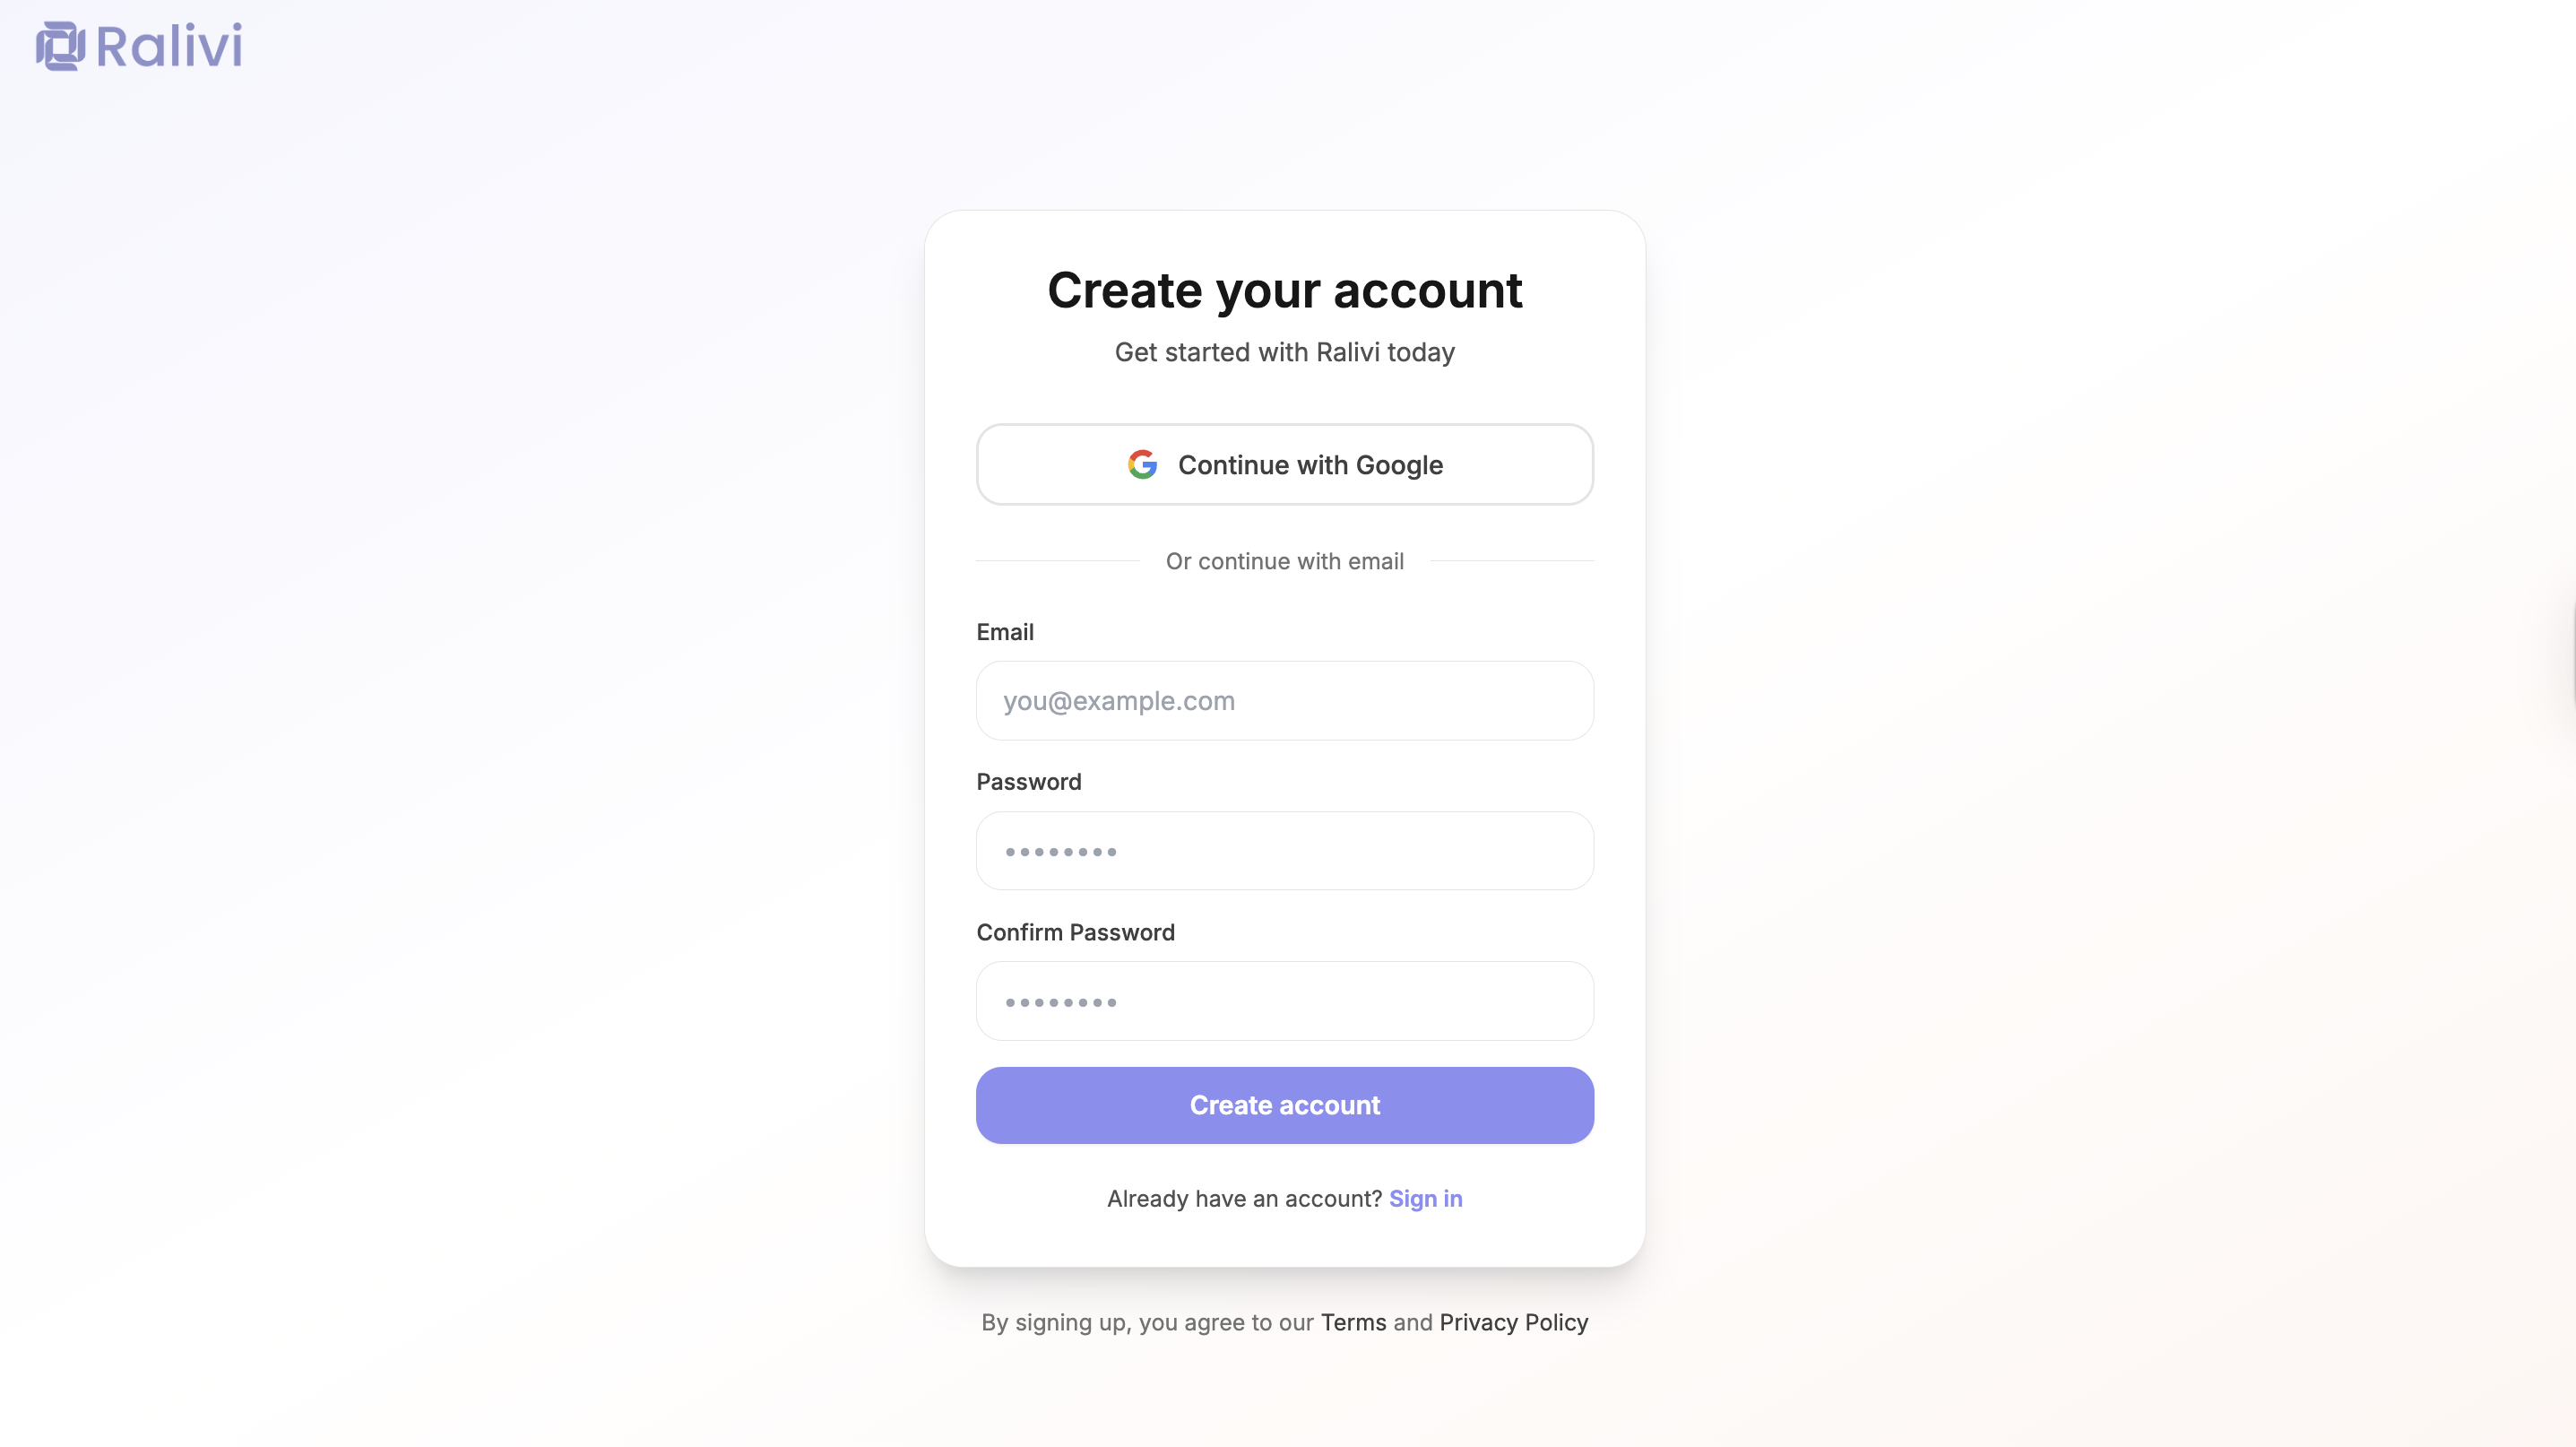
Sign Up with Email
Create an account using any email address. You'll need to verify your email before proceeding.
- Enter your email address and create a password (minimum 6 characters)
- Confirm your password
- Click "Create Account"
- You'll be redirected to the onboarding wizard
What Happens After Signup
After creating your account, you'll be guided through our onboarding wizard to set up your workspace:
Connect Your Email
Connect Gmail or Outlook to sync your contacts and conversations
Import Deals (Optional)
Ralivi will analyze your emails and suggest potential deals to import
Connect Calendar (Optional)
Connect Google or Outlook calendar to sync meetings and events
Workspace Settings
Set your organization name, website, and daily notification time
Workspace Configuration
During onboarding, you'll configure your workspace with these settings:
Organization Name *
Your company or team name. This can be changed later in Settings.
Website URL (Optional)
Your company website. Ralivi uses this to customize your pipeline and suggestions.
Daily Notification Time
Choose when you'd like to receive your daily summary (8 AM - 12 PM).
Demo Mode Option
Not ready to connect your email? You can start with demo mode to explore Ralivi with sample data:
Try Demo Mode
Demo mode lets you explore all of Ralivi's features with pre-populated sample data including contacts, deals, emails, and tasks.
You can exit demo mode at any time and connect your real email to start using Ralivi with your actual data.
Security Best Practices
Use a Strong Password
If signing up with email, use a password with at least 12 characters, including uppercase, lowercase, numbers, and symbols
Enable Two-Factor Authentication
Add an extra layer of security by enabling 2FA in your profile settings
Keep Your Email Secure
Your email is the key to your account. Make sure it's protected with a strong password
Troubleshooting Account Creation
"Email already exists" error
This email is already registered. Try logging in instead, or use the "Forgot password" link if you can't remember your password.
Google sign-up isn't working
- Make sure pop-ups are enabled in your browser
- Try using an incognito/private window
- Clear your browser cache and cookies
- Try signing up with email instead
Next Steps
Once your account is set up, you're ready to connect your email and start using Ralivi.
Continue to Quick Start Guide →