Quick Start Guide
Last updated: January 2026
This guide takes about 15 minutes to complete
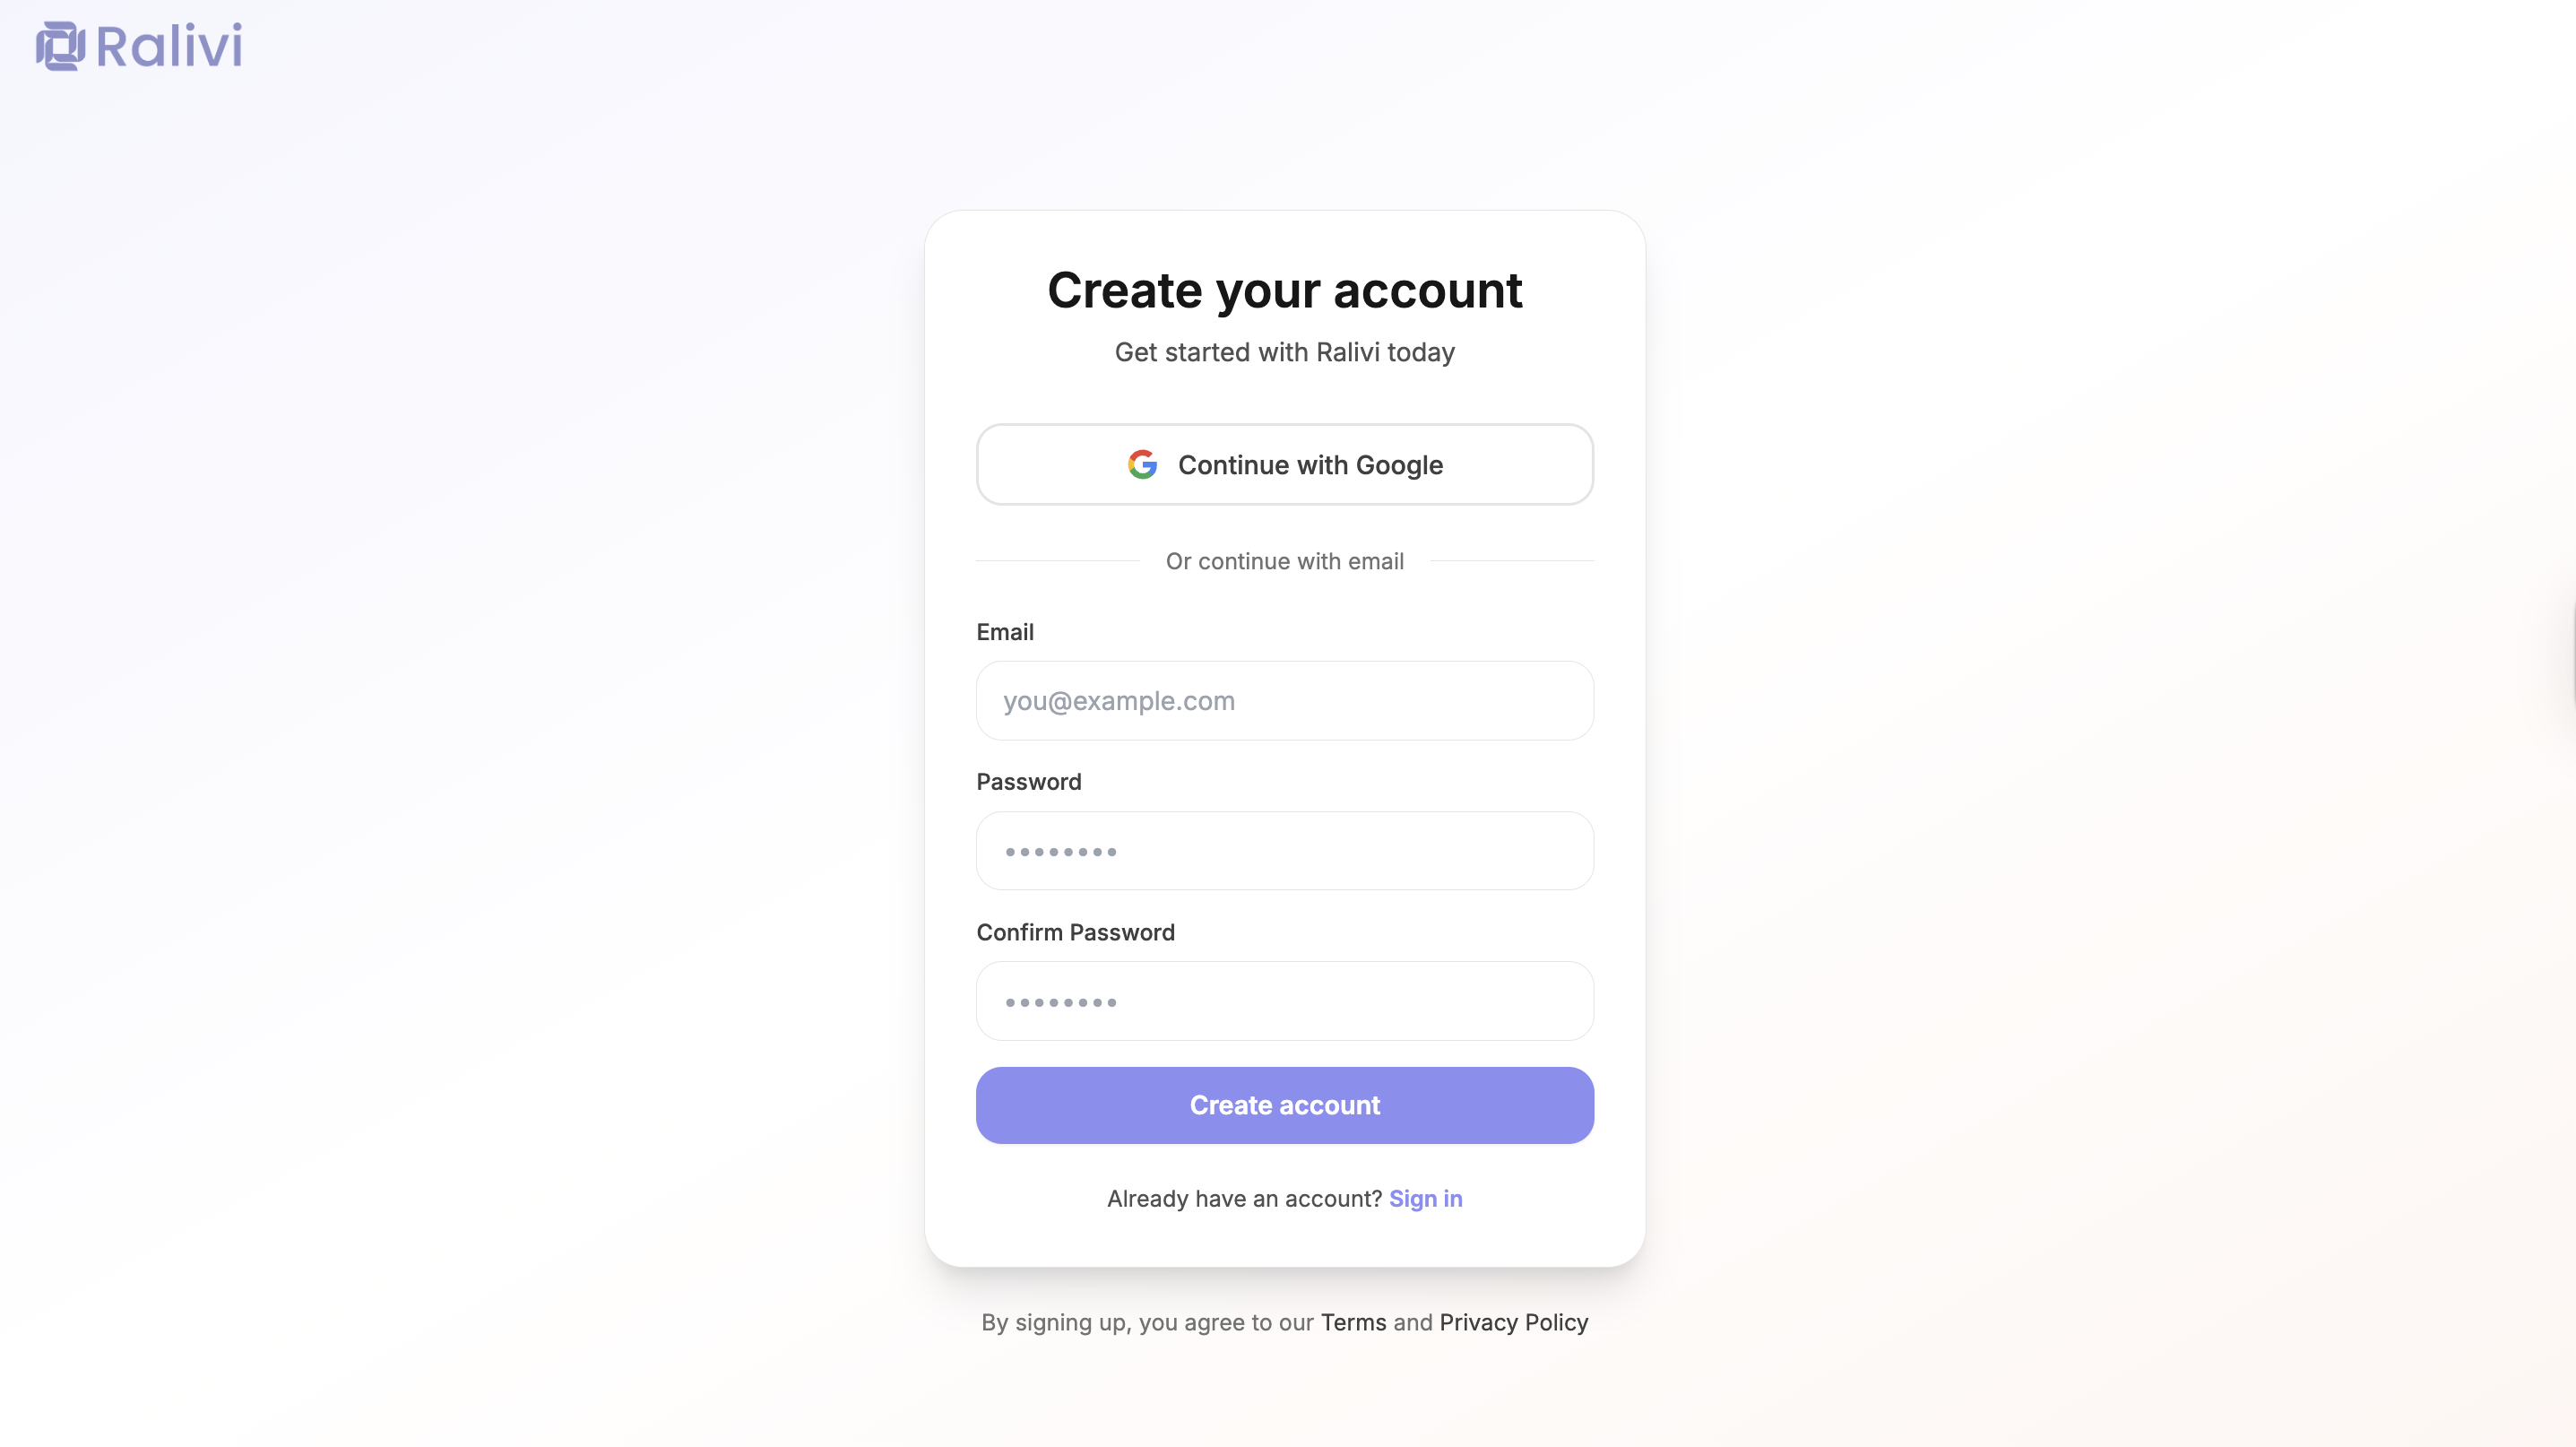
Step 1: Create Your Account
- Go to ralivi.com/signup
- Sign up with Google or create an account with your email
- Verify your email address (check your inbox if using email signup)
- Enter your organization name and select your industry
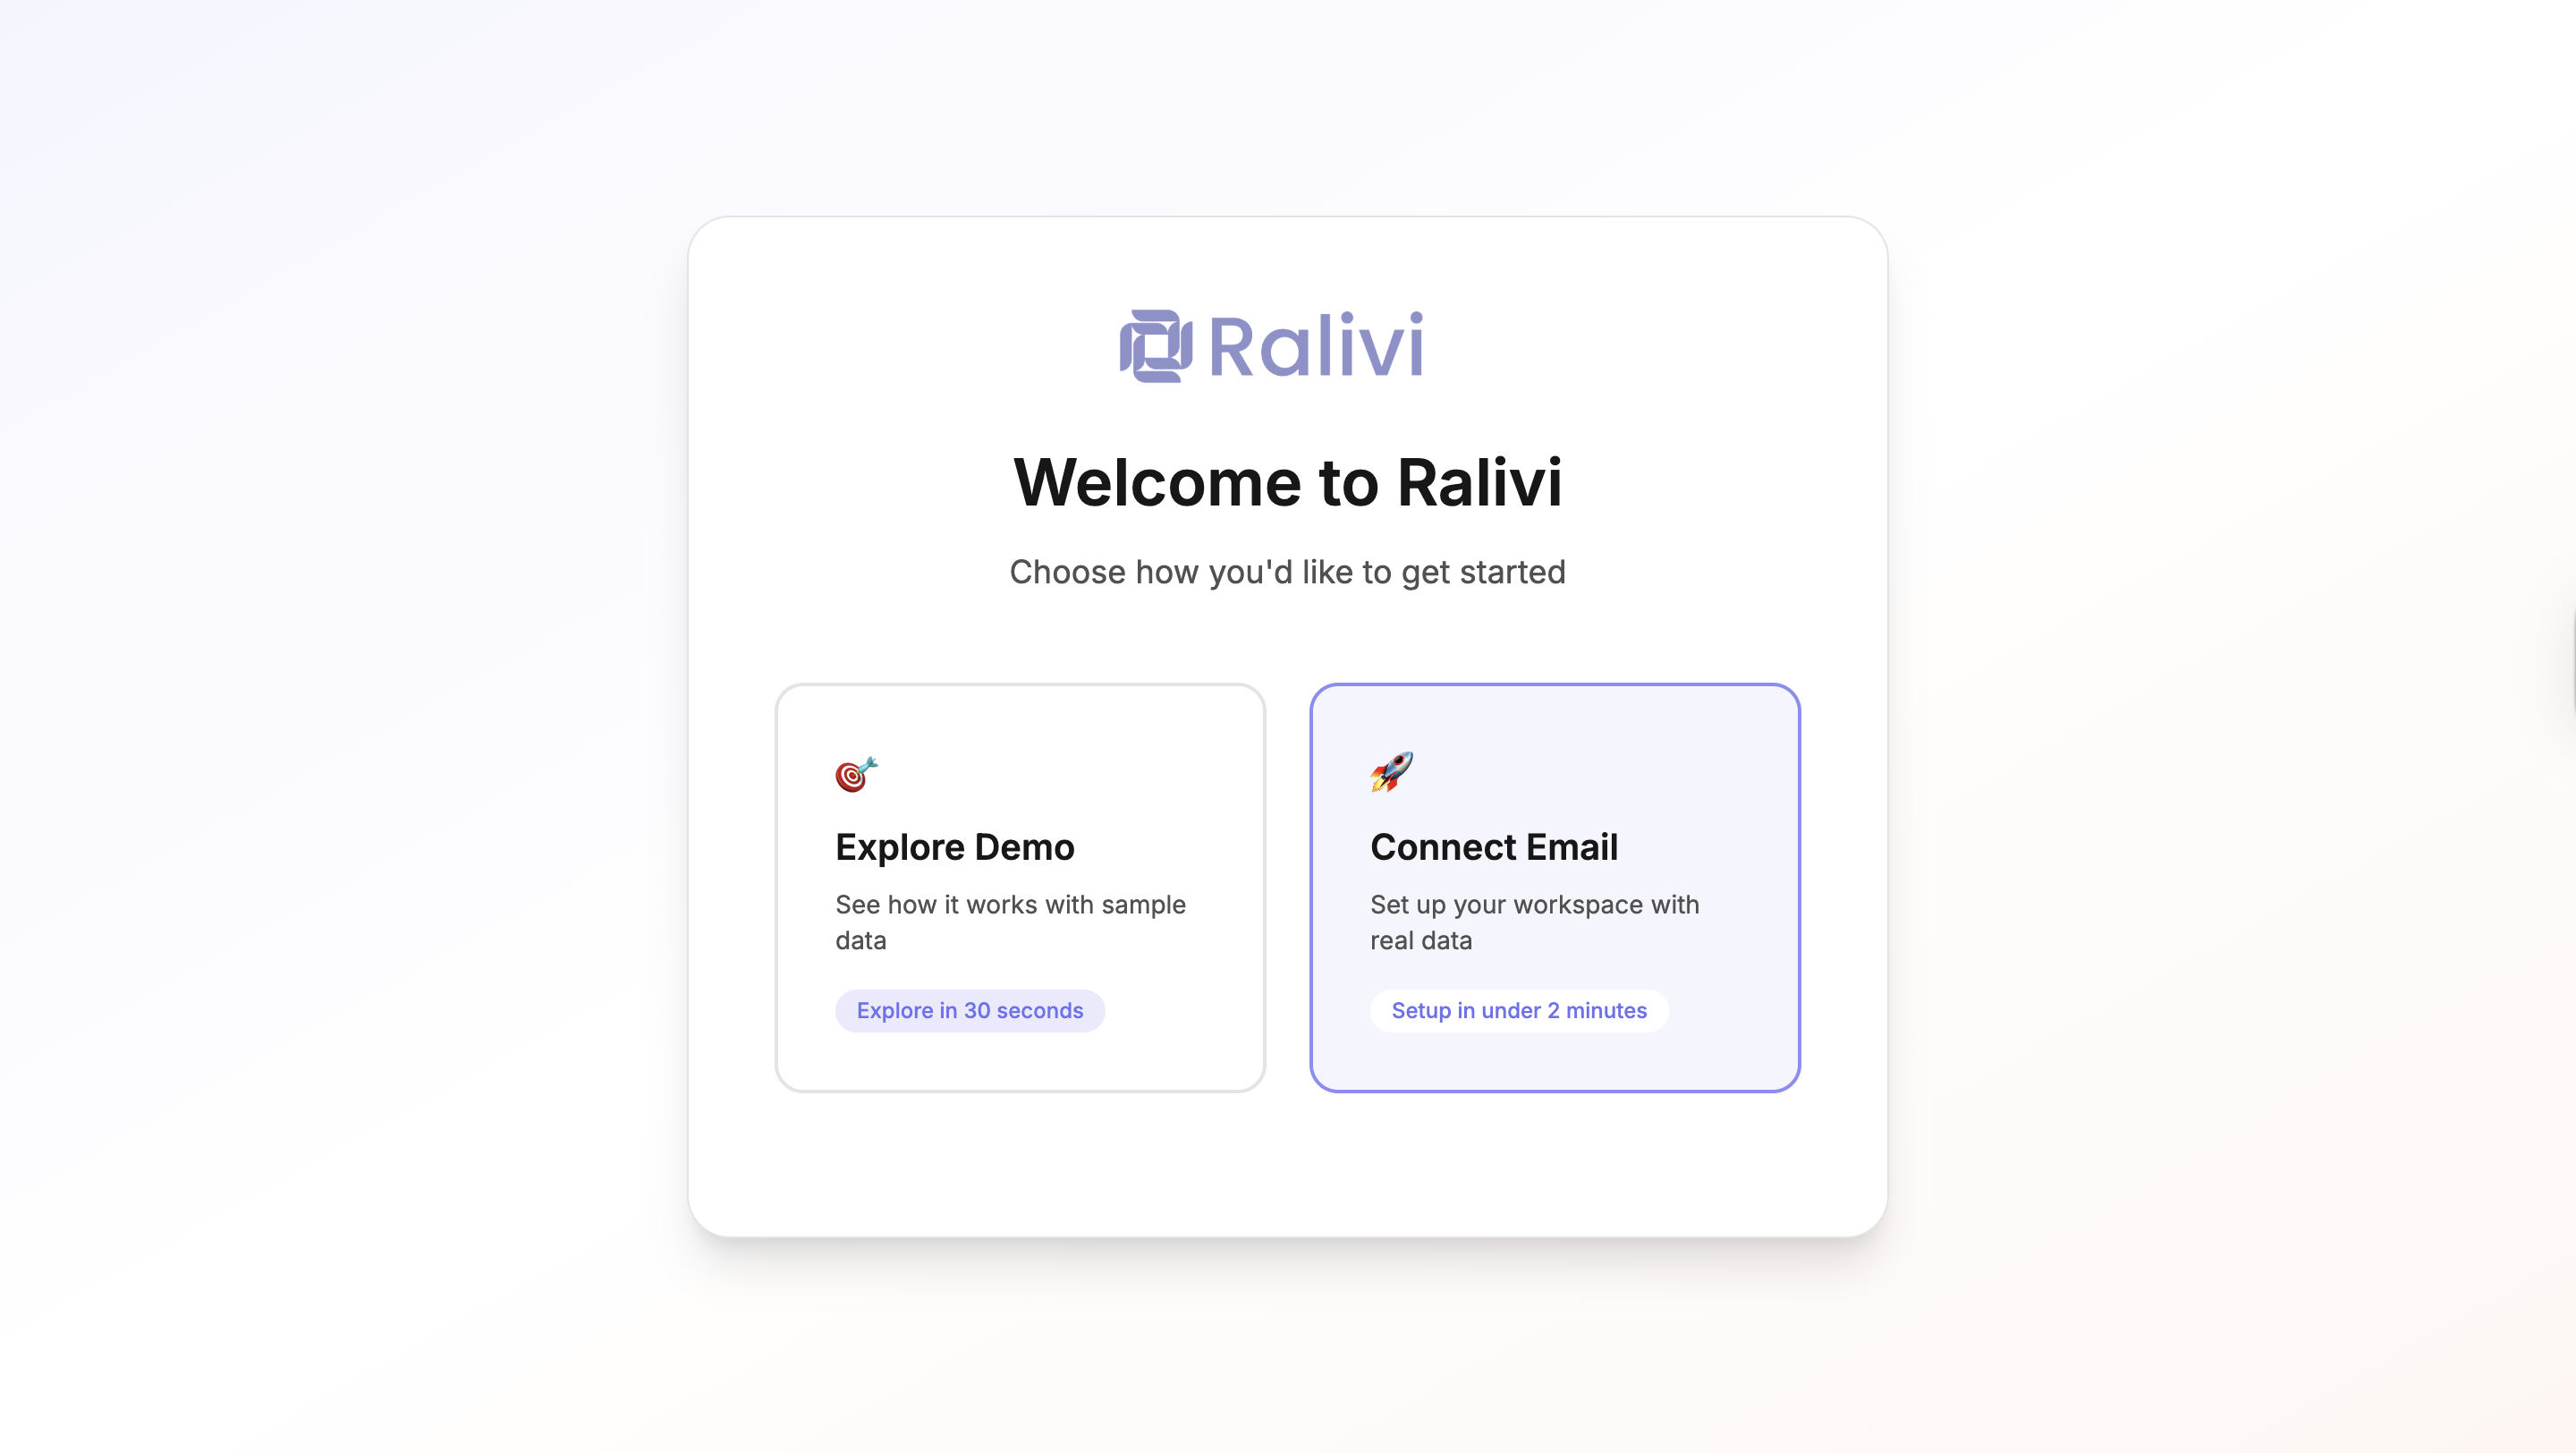
Step 2: Choose How to Get Started
After creating your account, you'll see two options:
Explore Demo
See how Ralivi works with sample data. Perfect for exploring features before committing.
Connect Email
Set up your workspace with real data from your inbox. Recommended for getting started.
Tip: Start with Demo Mode
If you're not sure yet, try demo mode first. You can connect your email anytime from the purple banner in the sidebar.
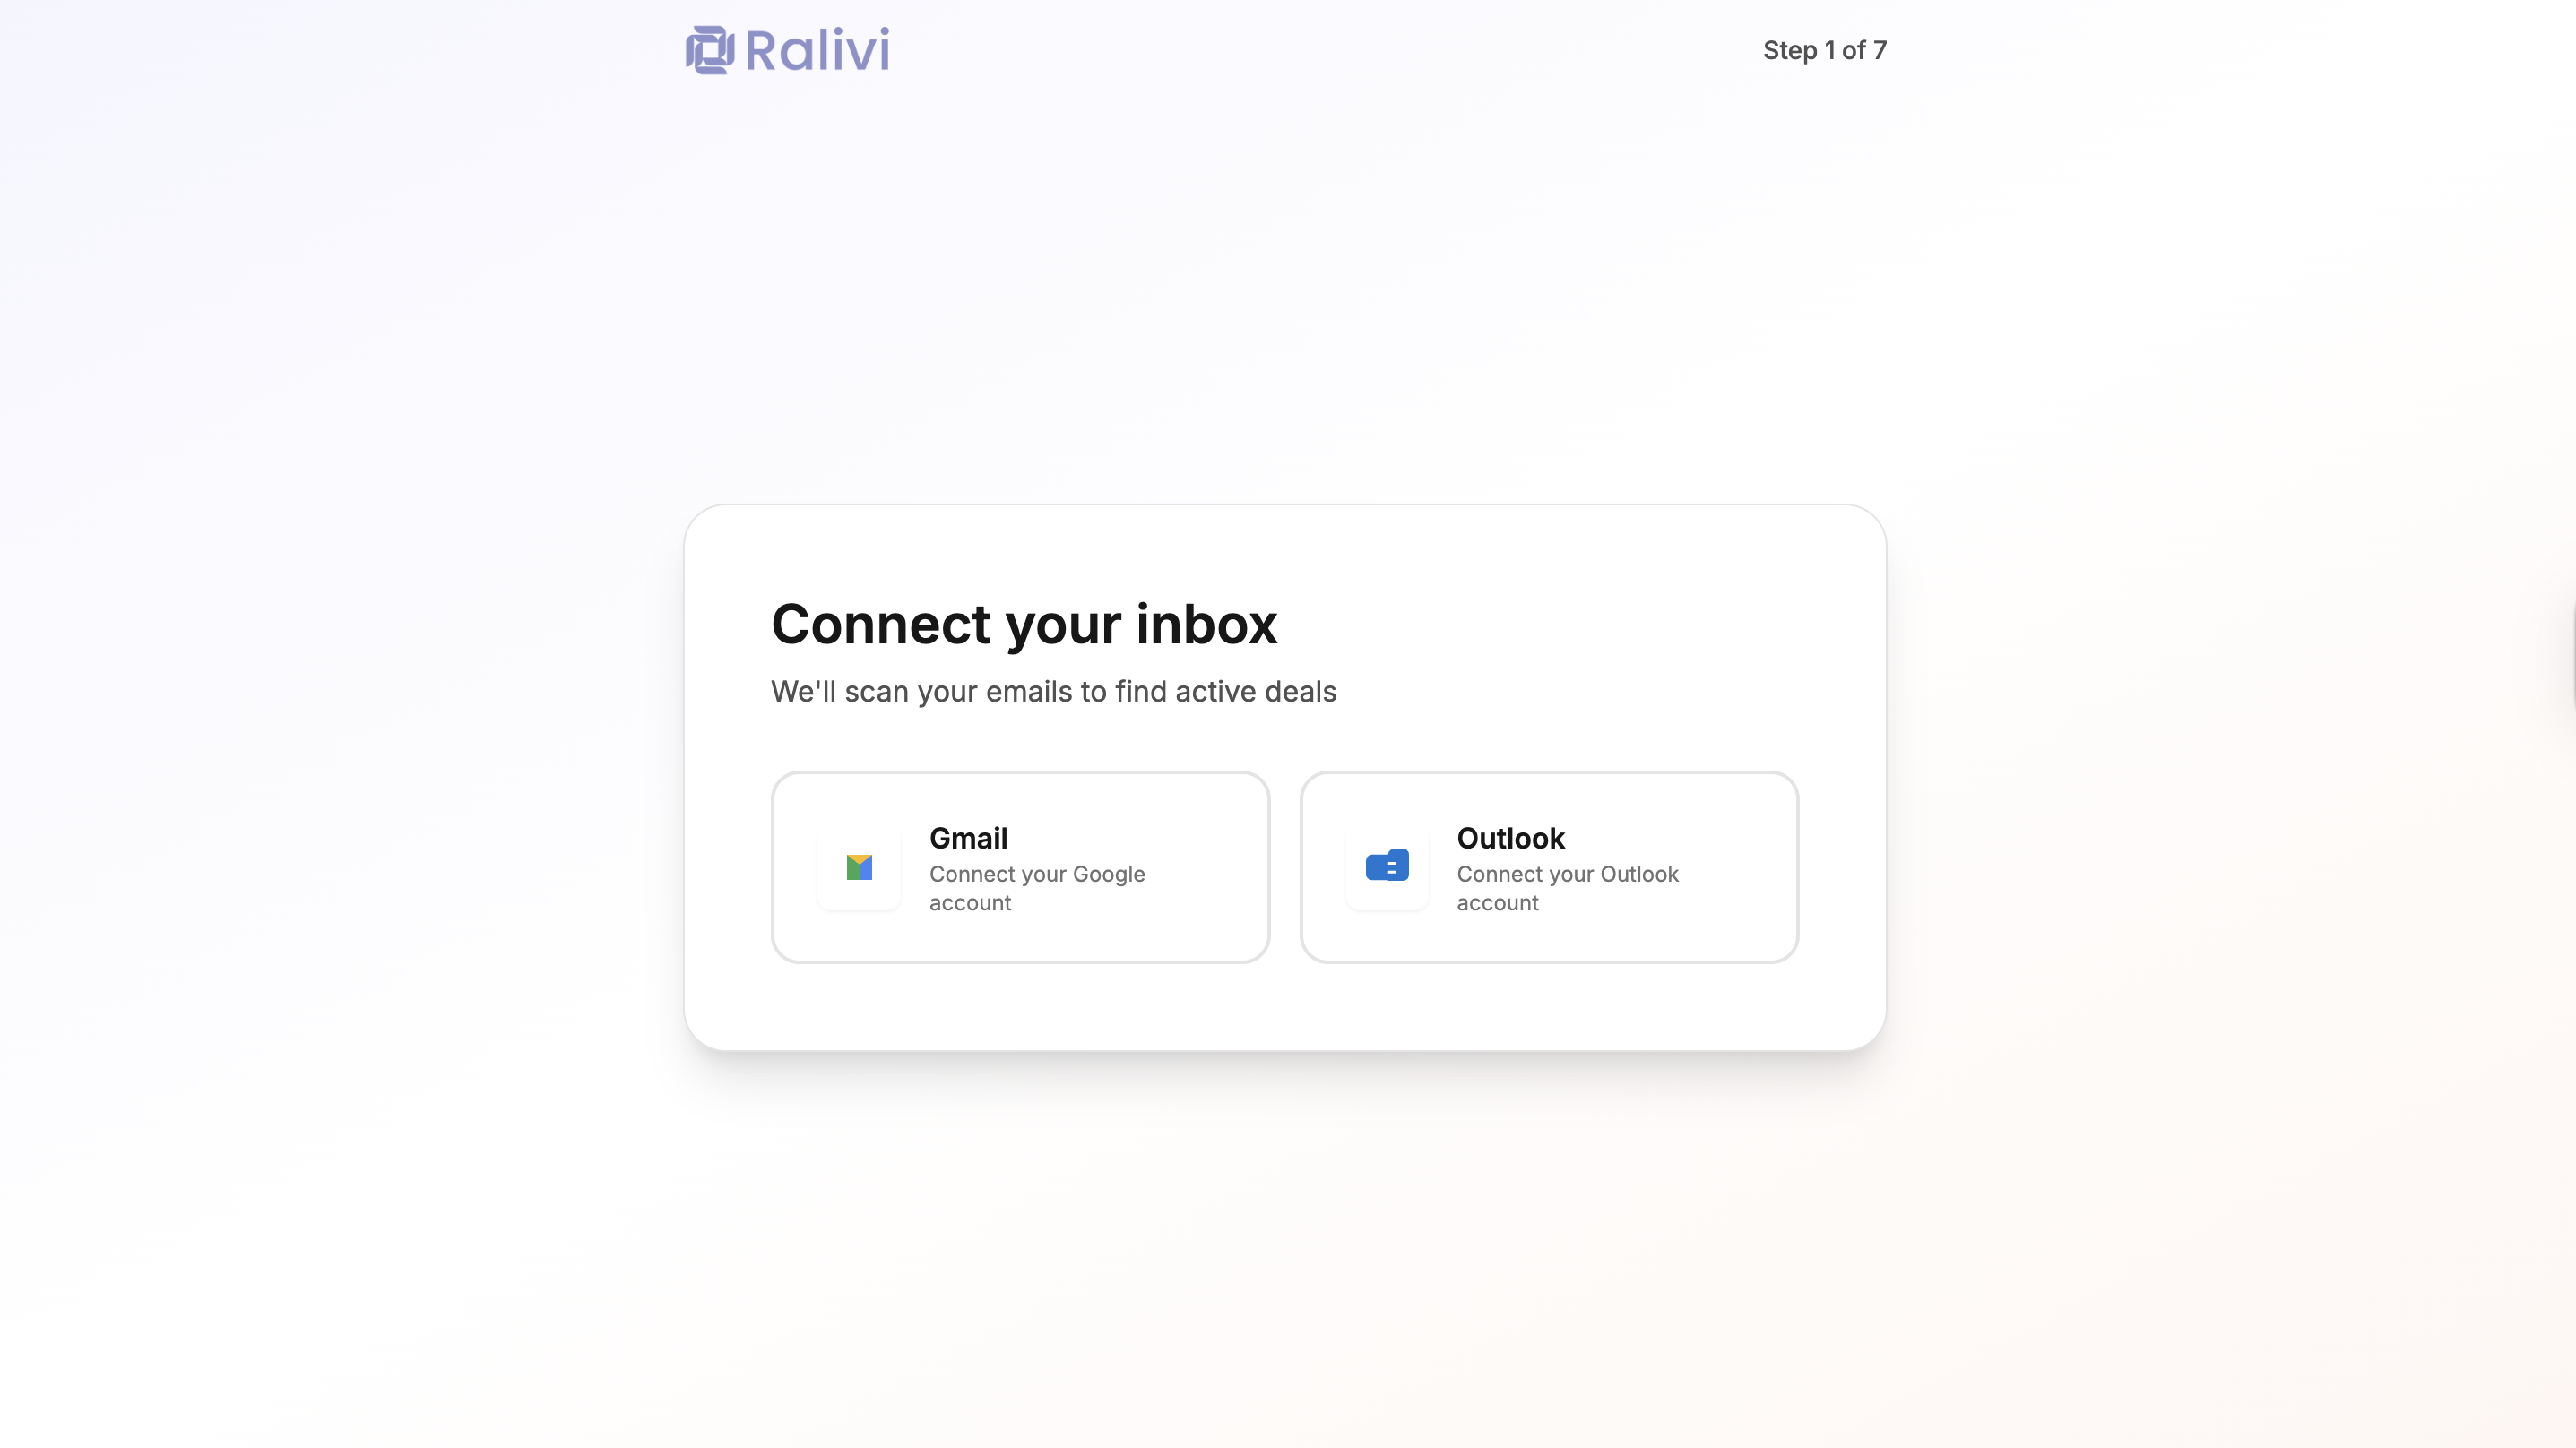
Step 3: Connect Your Email (If Not Using Demo)
If you chose "Connect Email", you'll be guided through email integration:
- Choose your email provider: Gmail or Outlook/Microsoft 365
- Click the provider button to start OAuth authentication
- Authorize Ralivi to read your emails (read-only access)
- Wait for the initial sync (usually 1-2 minutes)
Important: Ralivi only reads emails—we never send emails on your behalf without your explicit action.
Step 4: Analyzing Your Emails
After connecting your email, Ralivi will analyze your recent conversations:
- Ralivi scans your last 30 days of emails
- Identifies potential deals and contacts
- Detects conversation threads with prospects
- This usually takes 30-60 seconds
Step 5: Review Suggested Deals
Ralivi will show you potential deals it found in your emails:
- Review the list of suggested contacts and deals
- Check the boxes next to deals you want to import (top 5 are pre-selected)
- Click "Import Selected Deals" to add them to your pipeline
- Or click "Skip for now" to start with a clean slate
Tip: You can always add more deals later. Start with a few to get familiar with the system.
Step 6: Review Generated Tasks
If you imported deals, Ralivi will generate suggested follow-up tasks:
- See automatically-generated action items for each deal
- Tasks are based on email history and conversation context
- Click "Continue" to proceed
Step 7: White-Glove Setup (Optional)
Ralivi offers a white-glove setup service where our team helps you import data:
Accept White-Glove Setup
Fill out the form with your data source (spreadsheet, old CRM, etc.) and we'll handle the import for you
Skip White-Glove Setup
Continue with the onboarding and import data yourself later
Step 8: Connect Calendar (Optional)
Connect Google Calendar to automatically track meetings:
- Click "Connect Google Calendar"
- Authorize calendar access
- Your meetings will now appear in Ralivi
- Or click "Skip for now" to add it later
Step 9: Organization Details
Complete your organization profile:
- Confirm or update your organization name
- Add your website (optional)
- Set your preferred notification time
You're All Set!
Congratulations! You've completed the setup. Ralivi is now watching your inbox and will start suggesting actions.
Next Steps:
- • Explore the Dashboard guide
- • Learn about managing deals
- • Set up team members
Common Questions
Can I switch from demo mode to real data later?
Yes! Click the "Connect Email" button in the purple demo mode banner in your sidebar. Your demo data will be replaced with real data from your inbox.
How long does the initial email sync take?
Usually 1-2 minutes for recent emails. Ralivi syncs the last 30 days of emails initially.
Can I connect multiple email accounts?
Yes! Go to Settings → Email Integration to add additional accounts after completing onboarding.
Is my data secure?
Absolutely. We use bank-level encryption and never share your data. Read our Privacy Policy.