Onboarding Walkthrough
Last updated: January 2026
About the Onboarding Wizard
After creating your account, Ralivi's onboarding wizard guides you through the essential setup steps. The wizard is designed to get you up and running quickly while ensuring you don't miss any important configuration.
You can skip steps and return to them later, but we recommend completing all steps for the best experience.
Onboarding Steps Overview
Connect Email
RequiredLink your Gmail or Outlook account to automatically track conversations
Connect Calendar
OptionalSync Google Calendar to track meetings and schedule follow-ups
Import Data
OptionalBring in existing contacts and deals from spreadsheets or other CRMs
Customize Pipeline
OptionalSet up your deal stages to match your sales process
Invite Team
OptionalAdd team members to collaborate on deals
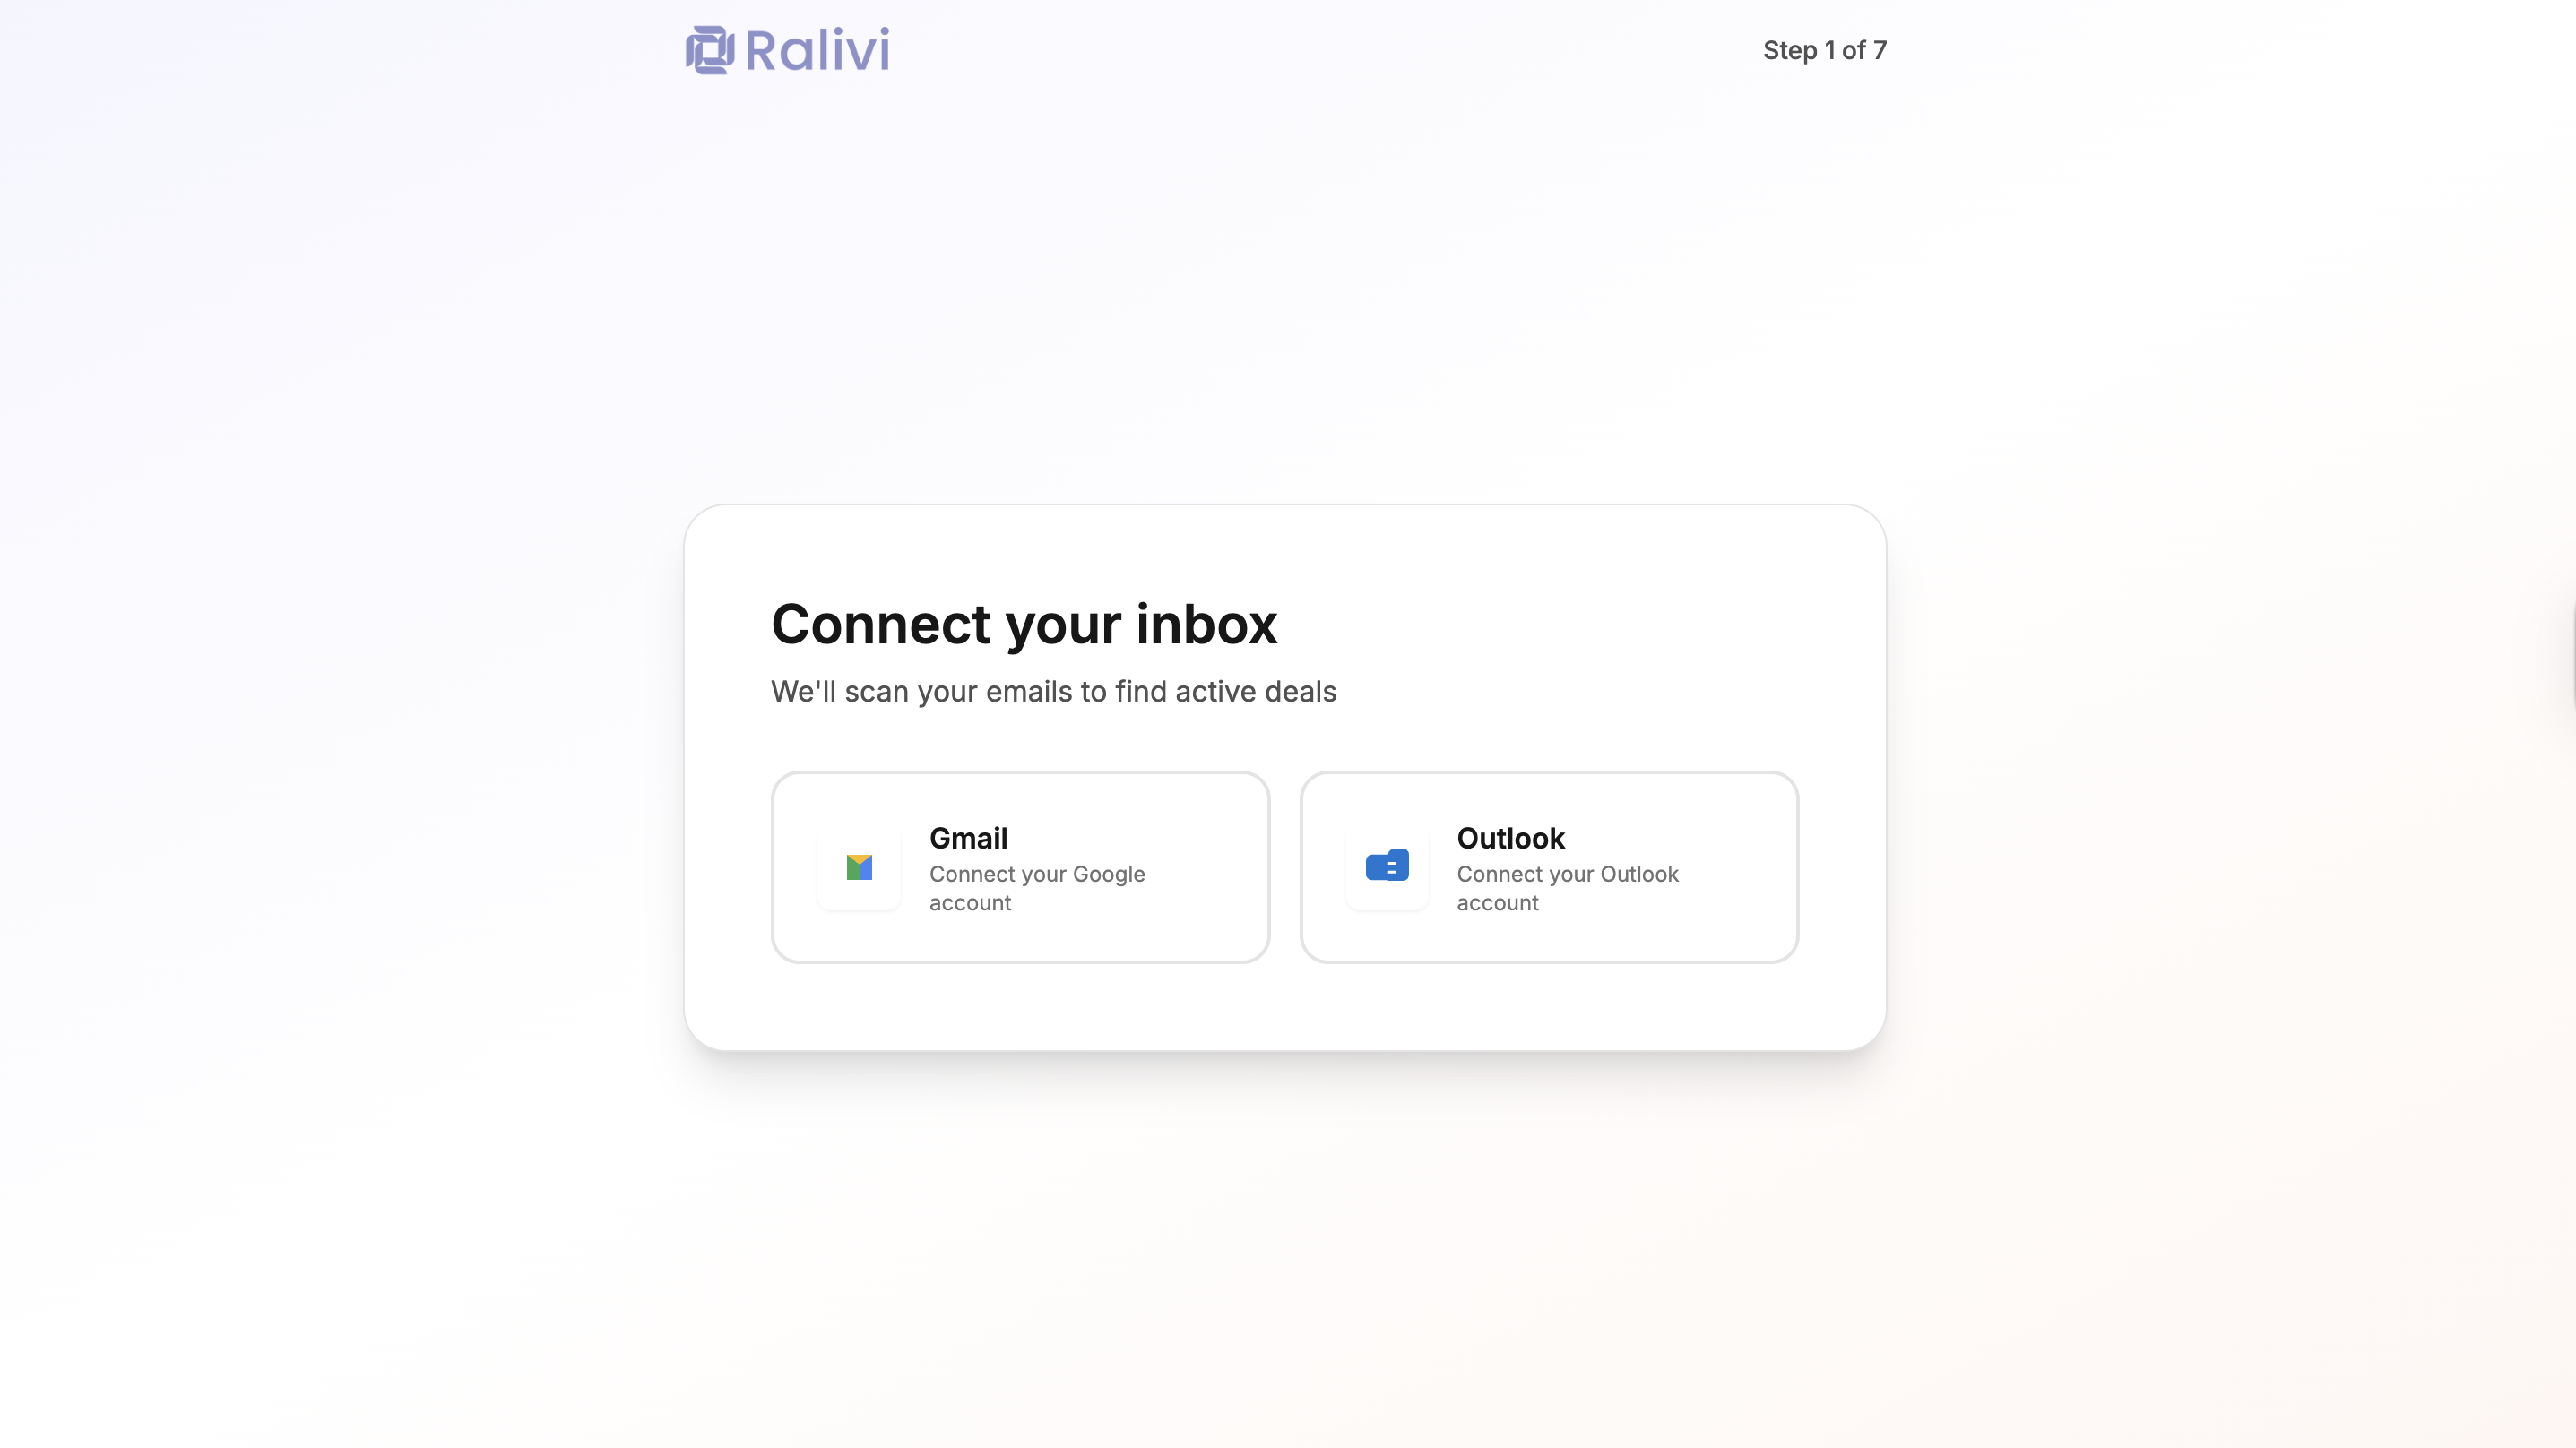
Step 1: Connect Email (Required)
This is the most important step. Connecting your email allows Ralivi to:
- Automatically track conversations with prospects
- Detect when leads go cold
- Create contacts from email addresses
- Show your inbox inside Ralivi
Supported Email Providers
- • Gmail (personal and Google Workspace)
- • Outlook.com
What Ralivi can access: Ralivi can read your emails to track conversations. We never send emails on your behalf without your explicit action.
Step 2: Connect Calendar (Optional)
Connecting Google Calendar helps Ralivi:
- Show upcoming meetings in your dashboard
- Automatically log meeting activities
- Suggest follow-ups after meetings
- Prevent scheduling conflicts
You can skip this step and connect your calendar later from Settings → Calendar Integration
Step 3: Import Data (Optional)
If you're switching from another CRM or have existing data in spreadsheets, you can import:
- Contacts (CSV file)
- Deals/Opportunities (CSV file)
- Activities/Tasks (CSV file)
Import Options
Upload CSV File
Upload a CSV file with your contacts or deals. Ralivi will help you map the columns.
Connect Google Sheets
Link a Google Sheet to automatically sync data into Ralivi.
Start Fresh
Skip importing and let Ralivi build your database from your emails.
Learn more in our Import Data Guide
Step 4: Customize Pipeline (Optional)
Ralivi comes with a default pipeline, but you can customize it to match your sales process:
Default Pipeline Stages
You can add, remove, or rename stages anytime from Settings → Pipeline Settings
Step 5: Invite Team (Optional)
If you're working with a team, invite them to collaborate:
- Enter team members' email addresses
- Assign roles (Admin or Member)
- Click "Send Invitations"
- Team members will receive an email with a signup link
Team Roles
Admin
Full access to all features, settings, and billing. Can invite and remove team members.
Member
Can view and manage contacts, deals, and activities. Cannot access billing or organization settings.
Skipping and Returning to Onboarding
You can skip any optional step during onboarding. To return to incomplete steps:
- Go to Settings
- Look for the relevant section (Email, Calendar, Import, etc.)
- Complete the setup from there
Onboarding Complete!
Once you've completed the onboarding wizard, you're ready to start using Ralivi. Your dashboard will show incredible suggestions based on your email activity.
Learn About the Dashboard →